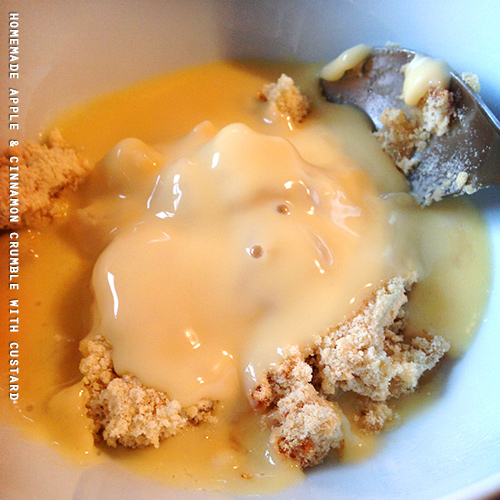
(Day 7) Yorkshire Ginger Parkin Recipe
08 December 2014
Say Merry Christmas with own-made Yorkshire Parkin Give a little more of yourself this Christmas with this Yorkshire Parkin recipe as a home-made food gift treats. Yorkshire Ginger Parkin is a type of ginger cake that originated in Northern England around the 18th century. Flavoured with ground ginger and treacle. A hearty, comforting ginger cake
Missie Cindz
28 days Crave Veggies (Day 7)
30 March 2014
Time for a Food Change For the next month I will be turning to a vegetarian diet (no meat and fish) to help myself become a healthier and ‘feel better’ me – I’ve called this my 28 Days Crave Veggies Challenge. Before the challenge, I had been feeling sluggish and thought this challenge would be
Missie Cindz
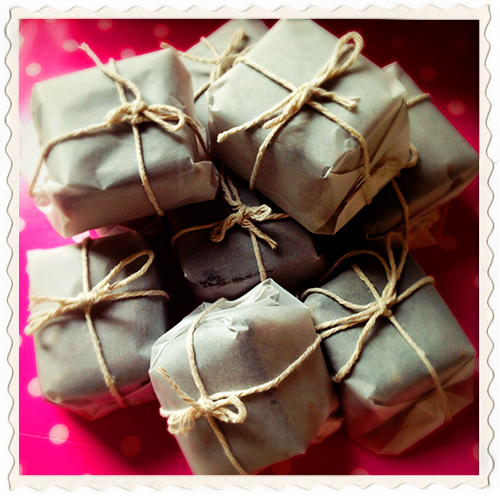
DIY Xmas – Salted Caramel Choc Shots
16 December 2012
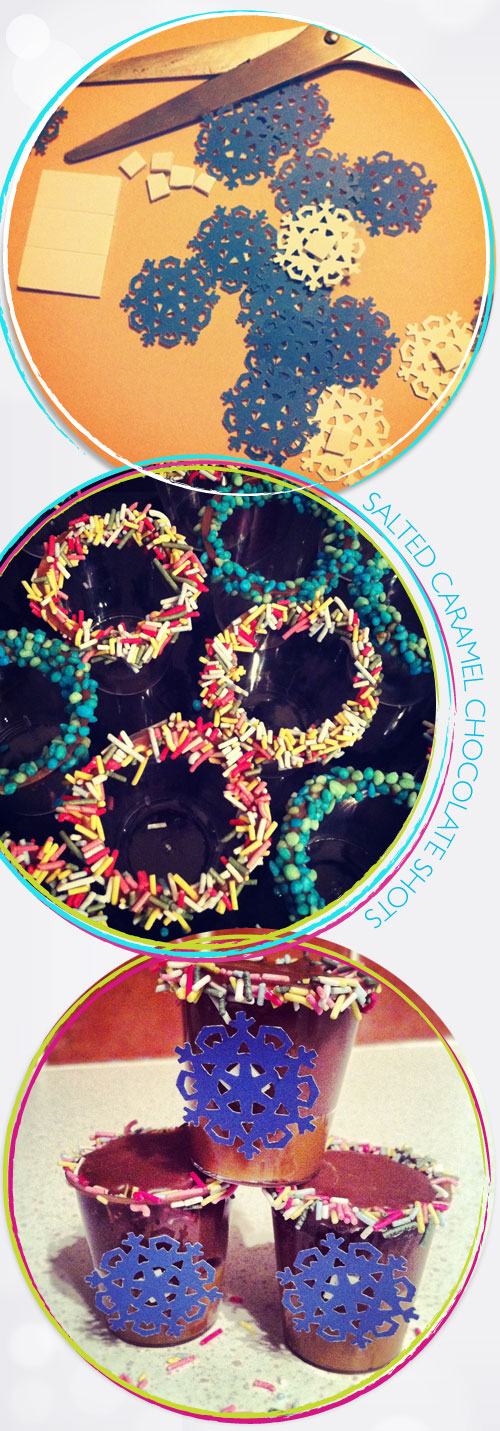
Sweet party Ideas just for you Forget sweet and sour, I love combining sweet and salty flavours together especially when chocolate, toffee and salt is involved. I first made these cute party-styled shots at Missie’s Party-themed Pud Inn back in September – you can read the blog post here from fellow food blogger @PinkLittleBean.
Missie Cindz
A Sheffield Picnic
19 May 2012
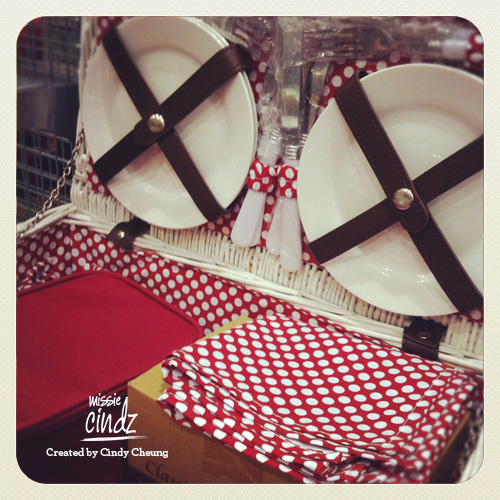
I’ve always loved the thought of having and organising my own picnic. A small gathering amongst friends and family under the hazy sunshine. Having a picnic during the summer can be entertaining and a great social get together. A fantastic way to meet new people, eat some delicious food and play fun outdoor games.
Missie Cindz
DIY Parchment Muffin Cake Liners
29 December 2011

Currently, I’m still enjoying the time off away from the studio and instead have been baking away in the kitchen. Today I ran out of cupcake cases to make a batch of muffins to take down to Birmingham with me as homemade New Year gifts for friends – so what did I do? made
Missie Cindz
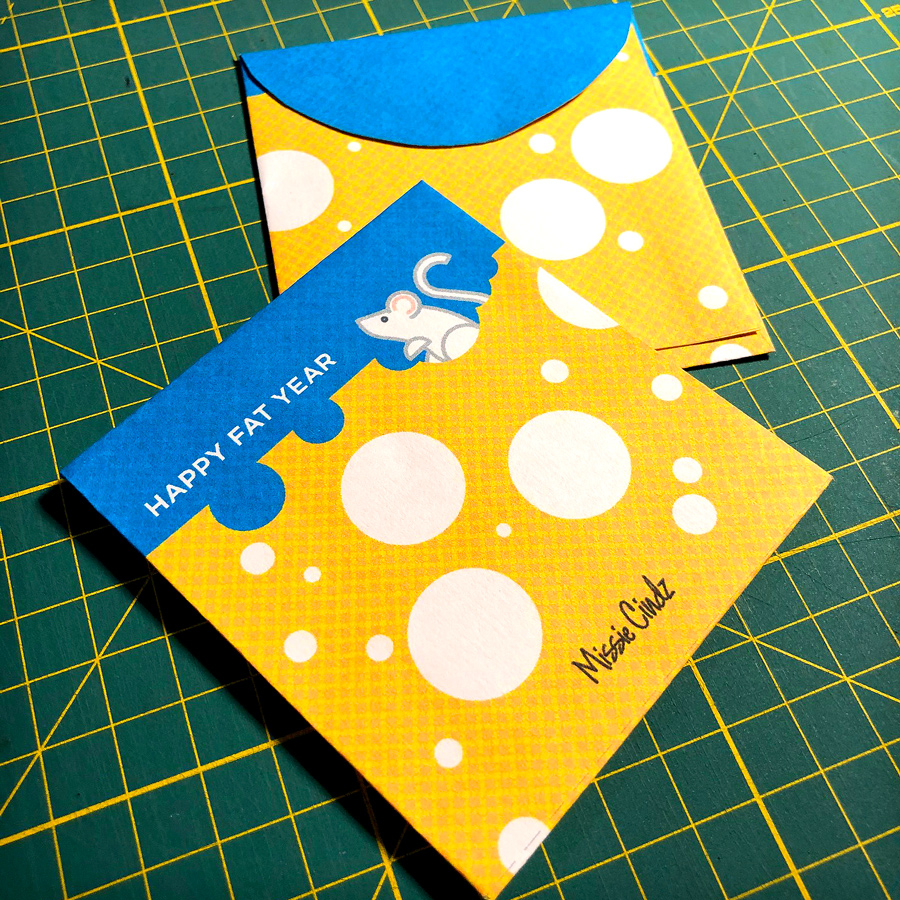
Festive own made gift bag
23 December 2011
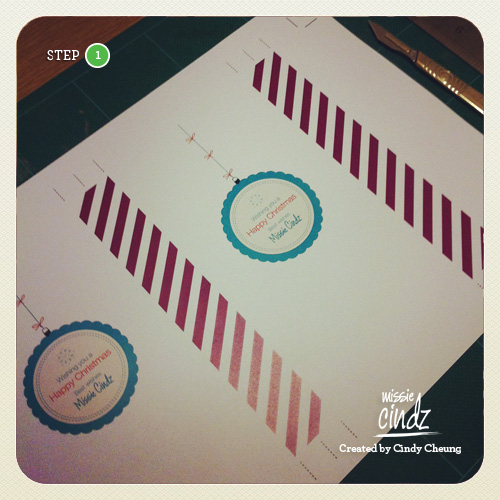
I designed some festive paper goodie bags – perfect for home-baked goods, fudge or any kind of small-sized gifts. Continue for assembly instructions and to download your free printable bag design – I’ve removed the Missie Cindz logo on the design for you (of course I couldn’t receive full credit for your homemade noms!) –
Missie Cindz